 Контактор,автоматический выключатель,солнечный инвертор,электрический счетчик,солнечные батареи

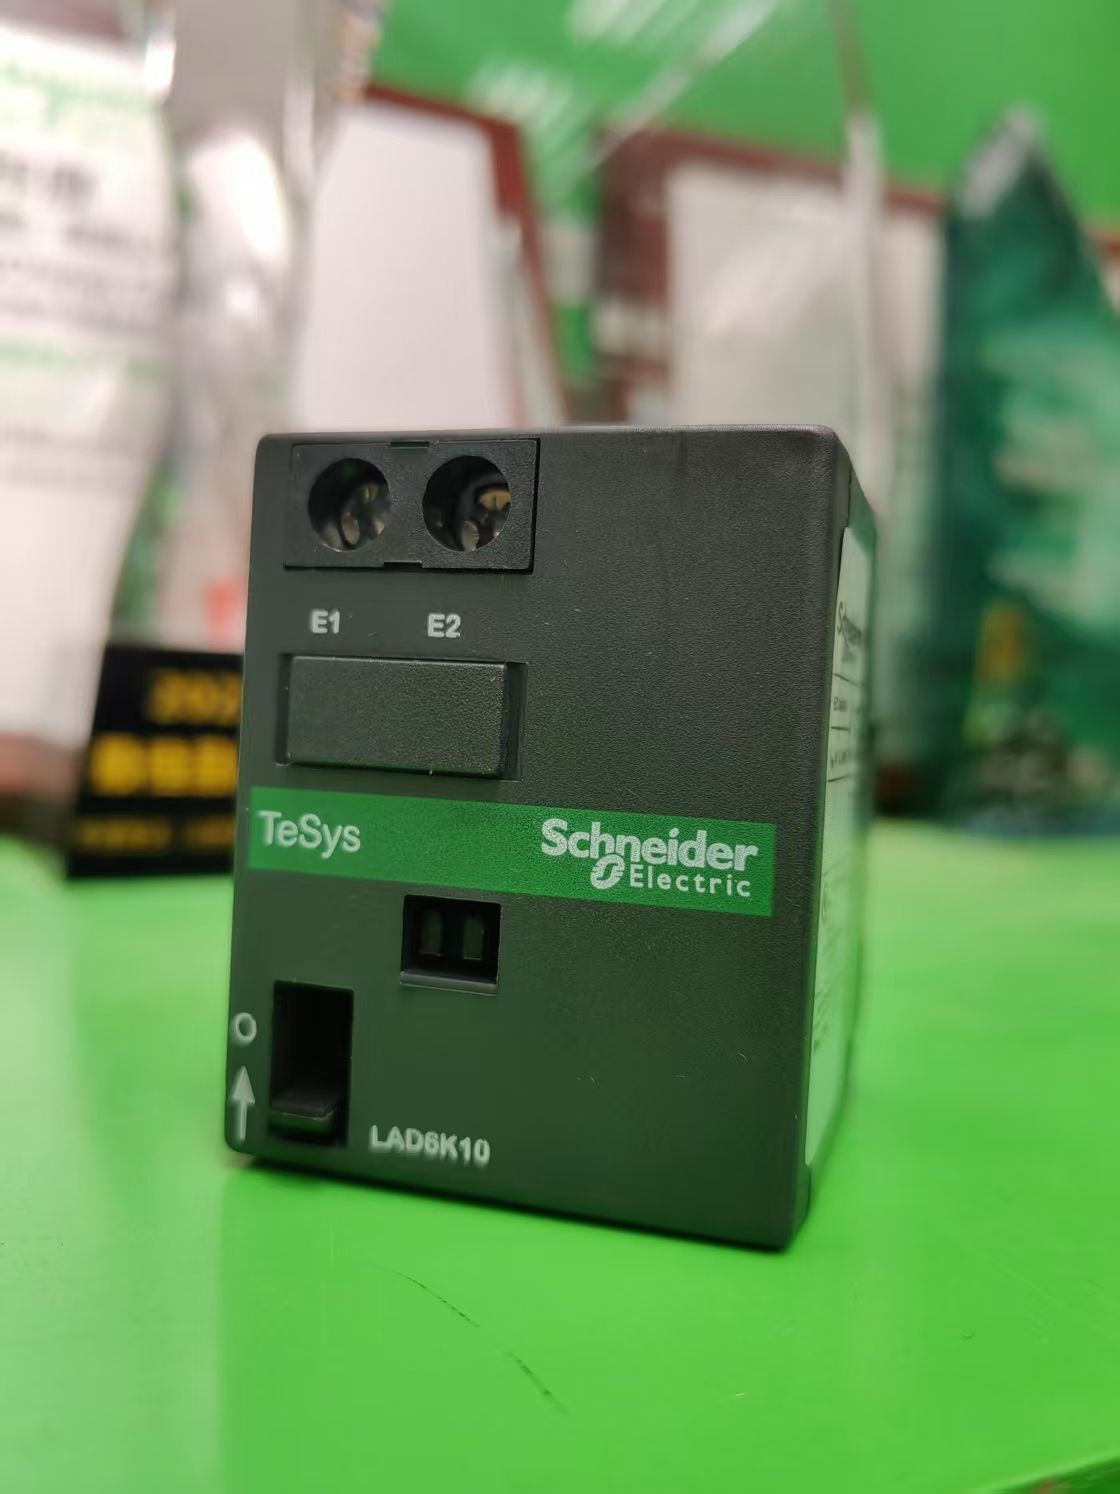

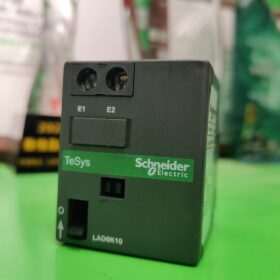
Schneider Electric LAD6K10 is a mechanical latching module belonging to the TeSys series, primarily designed for use with Schneider Electric contactors.
Тип продукта: Mechanical latching module
Applicable Scope: Suitable for LC1D09-D80A, LC1DT20-D80A contactors and CAD control relays, excluding low-power coil devices
Метод управления: Electrical latching can be achieved by applying a control voltage pulse of 42-48V. The AC pulse duration must exceed 100ms, and the DC pulse duration must exceed 250ms; unlocking can also be performed manually
Технические параметры: Control circuit voltage options include 110/127V AC 50/60Hz and 110/127V DC; rated insulation voltage is 690V; AC circuit power requirement is 25VA, DC circuit is 30W; mechanical durability is 500,000 циклы; maximum operating frequency is 1200 times per hour; duty cycle is 10%
Способ монтажа: Snap-on installation, can be directly mounted on the front of the contactor, with connections made via screw terminals
Класс защиты: IP2X, preventing the intrusion of objects larger than 12.5mm
Условия окружающей среды: Operating temperature range is -25℃ to 55℃, storage temperature range is -40℃ to 80℃
Product Certifications: Certified by UL, CSA, и т. д., and complies with standards such as IEC 60947-5-1
Installation Steps for Schneider Electric LAD6K10 Mechanical Latching Module
- Pre-Installation Preparation
- Safe Power Off: Disconnect all relevant power supplies and ensure the circuit is de-energized (verify with a voltage tester)
- Confirm Compatibility: Check if the contactor model falls within the applicable scope (LC1D09-D80A, LC1DT20-D80A or CAD control relays, excluding low-power coil devices)
- Prepare Tools: Flathead or Phillips screwdriver (for wiring)
- Inspect the Product: Confirm the LAD6K10 is undamaged and all accessories are complete
- Mechanical Installation Steps (Tool-Free Snap-On Installation)
- Positioning: Face the front of the LAD6K10 module towards the contactor, aligning the clamping grooves on the back of the module with the protrusions on the front of the contactor
- Установка:
Push the module steadily into the front of the contactor until a “щелкнуть” sound is heard, indicating it is locked in place
- Confirmation: Gently pull the module to verify it is securely installed without loosening
- Electrical Connection Steps
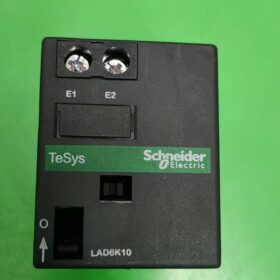
- Terminal Identification:
E1, E2: Latching module coil terminals (control voltage input)
The markings on the module should correspond to the contactor terminal block
- Монтаж проводки:
Strip approximately 8mm of insulation from the end of the wire
Insert the wire into the E1 and E2 terminal holes
Tighten the terminal screws evenly with a screwdriver (note: do not over-tighten)
- Insulation Treatment: Ensure all connections are secure with no exposed conductors; use insulating tape for wrapping if necessary
- Post-Installation Inspection and Testing
- Wiring Inspection: Confirm correct connection of E1 and E2 with no short-circuit risks
- Function Testing:
Energize the contactor coil; the contactor should close and be latched by the LAD6K10 (remaining closed even when de-energized)
Apply a control voltage pulse (переменного тока > 100ms or DC > 250РС) to E1 and E2 of the LAD6K10; the contactor should unlock and open
Unlocking can also be tested using the manual unlocking device on the front of the LAD6K10
- Safety Confirmation:
The contactor coil and LAD6K10 coil must never be energized simultaneously, as this will damage the equipment
The energization time of the LAD6K10 coil must not exceed 10 seconds to avoid overheating damage
After the module is unlocked, the resistance between E1 and E2 should be infinite (confirm with a multimeter)
- Notes and Safety Reminders
- Среда установки: Ensure the installation location is dry, well-ventilated, free from severe vibration, and the ambient temperature is within the range of -25℃ to 55℃
- Operation Limitations:
Maximum operating frequency: 1200 times per hour
Duty cycle: 10%
Mechanical durability: 500,000 циклы
- Рекомендации по техническому обслуживанию: Regularly check if the module is loose and if the terminals are tight. Replace the gasket annually or when significant contamination is observed to maintain the protection class (IP2X)
The installation of the LAD6K10 mechanical latching module is very simple, mainly consisting of mechanical snap-on installation and electrical wiring, with no special tools required throughout the process. После установки, the module can keep the contactor latched after power failure, and only release it when an unlock signal is received or manual operation is performed, providing a reliable solution for industrial control applications that require state retention.
Estimated Installation Time: A skilled electrician can complete the entire installation and testing in approximately 5 минуты.


")


NH42-63-318x560.png "Автоматические переключатели резерва типа PC CHINT (АТС)НХ42-63/4СЗ")


