
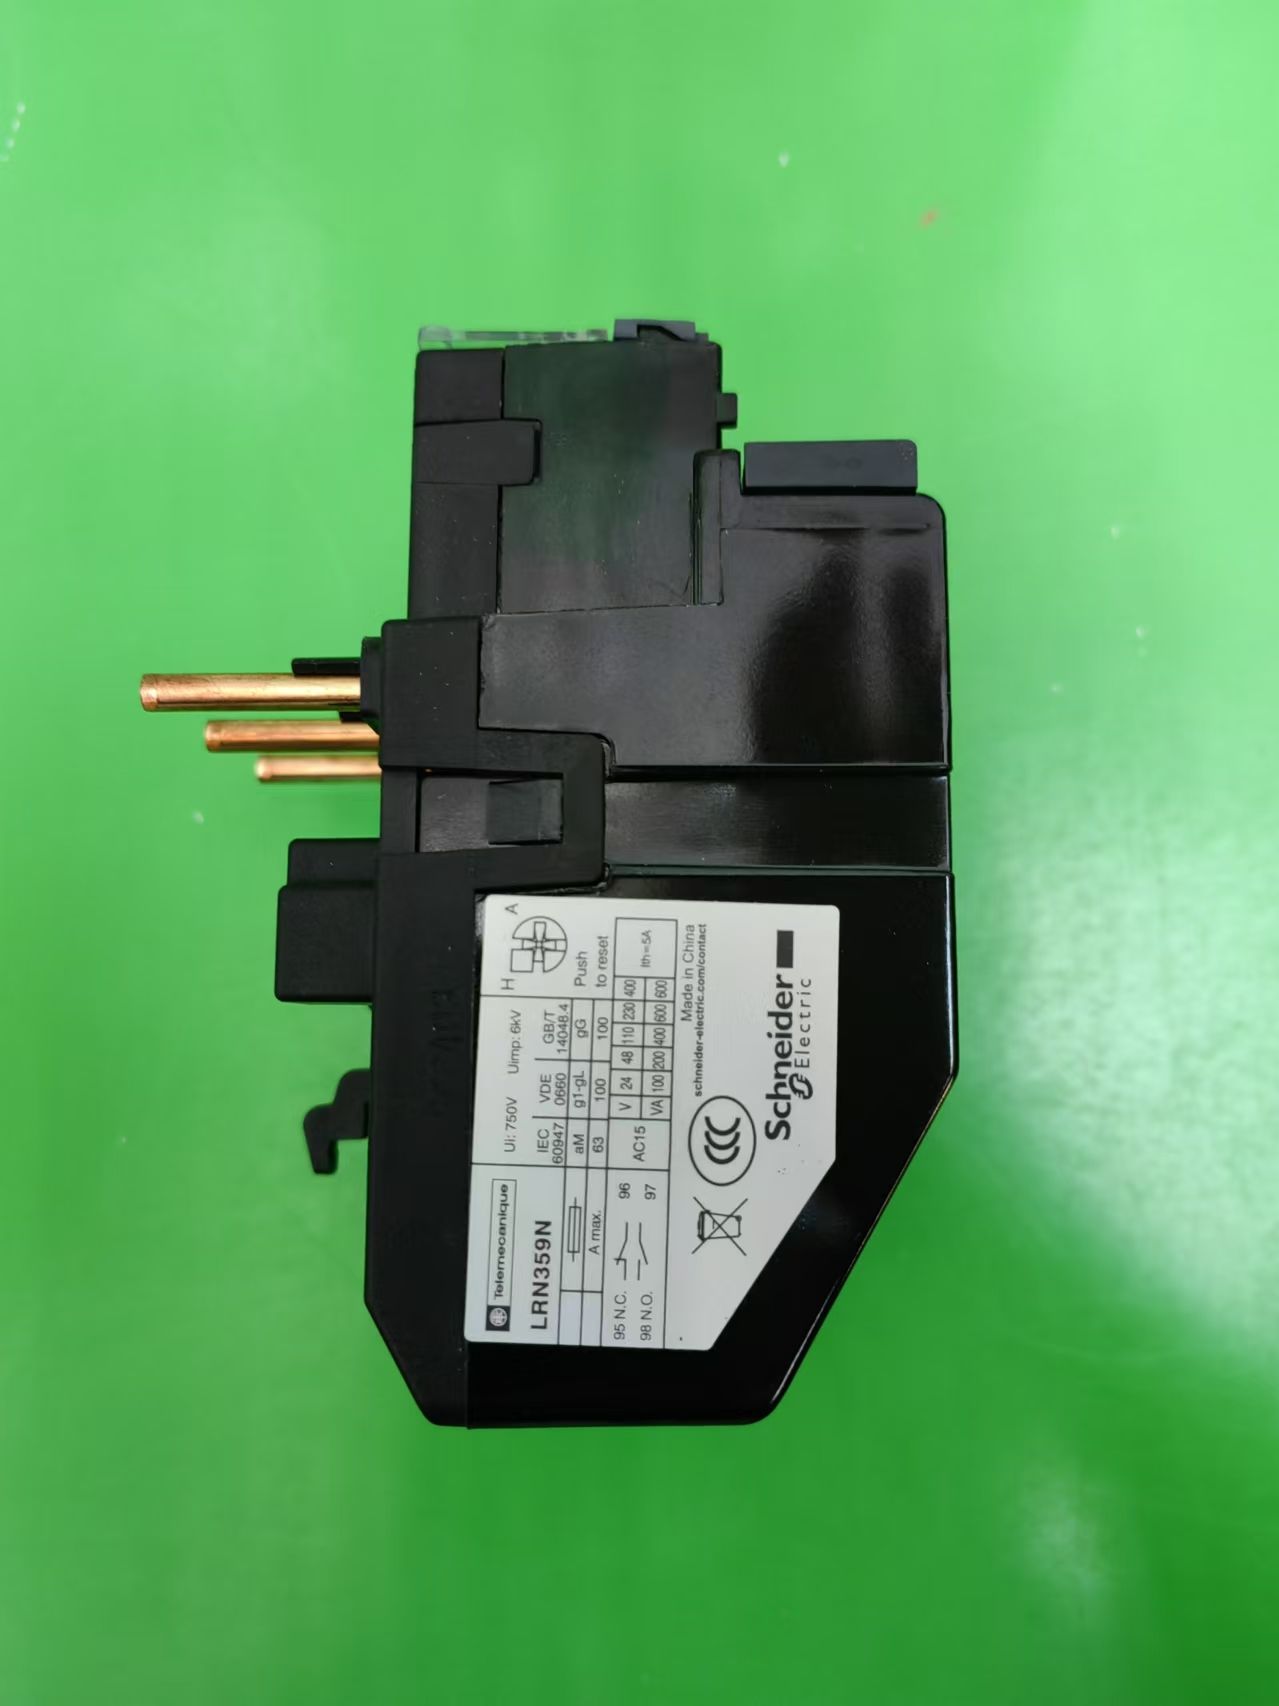


The Schneider LRN3 Thermal Overload Relay is an E-type 3-pole thermal overload protection device from the EasyPact D3N series (domestically produced), specifically designed to provide overload and phase failure protection for electric motors. By monitoring the thermal effect of current, it automatically cuts off the circuit when the load current exceeds the set value, preventing motor damage due to overheating.
- Specificații de bază
Articol de specificație Valoare Tensiune nominală ≤690V AC Temperatura ambiantă -20℃~+60℃ Configurare contact 1NU+1NC (Deschis normal + În mod normal închis) Metoda de montare Combined Mounting (Compatible with LC1N Series Contactoare) Trip Class 10O (Tip standard) Insulation Class 850℃ (Conform IEC 60068-2-1)
III. Main Models and Current Ranges
| Model | Setarea intervalului de curent (O) | Compatible Contactor |
| LRN353N | 23~32 | LC1N32-40 |
| LRN355N | 30~40 | LC1N40-50 |
| LRN359N | 48~65 | LC1N63-75 |
| LRN361N | 55~70 | LC1N80-95 |
| LRN363N | 63~80 | LC1N80-95 |
| LRN365N | 75~100 | LC1N100-125 |
- Principiul de lucru
Based on the thermal effect of current:
- The heating element is connected in series with the motor main circuit, generating heat when current passes through.
- The heat causes the bimetallic strip (composed of materials with different expansion coefficients bonded together) to bend and deform.
- When the deformation reaches the set threshold, it pushes the connecting rod to trigger contact action.
- The normally closed contact disconnects the control circuit, de-energizing the contactor and cutting off the main circuit.
- Provides phase failure protection: If any phase in the three-phase supply is missing, the current in the remaining two phases increases, triggering protection similarly.
- Scenarii de aplicare
Industrial Motor Protection: Fans, pompe de apa, compresoare, etc.
Mechanical Equipment: Conveyor belts, mixere, processing machine tools.
Building Facilities: Lifturi, rolling shutter door drive systems.
Electrical Equipment Requiring Reliable Overload Protection
- Selection Guide
- Select Based on Motor Rated Current:
– The thermal relay’s setting current range should cover the motor’s rated current.
– It is recommended that the set value be 1.05~1.2 times the motor’s rated current.
– Exemplu: A 2.1A motor selects LRN07N (1.6~2.5A).
- Match with Contactor:
– The LRN3 series is compatible with LC1N series contactors.
– Model correspondence: de ex., LRN361N matches LC1N80-95.
VII. Installation and Usage
- Etape de instalare
– Check if the motor’s rated current is within the thermal relay’s setting range.
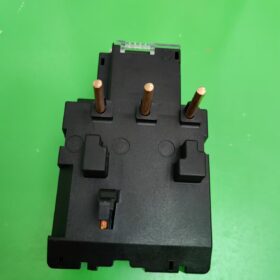
– Install the thermal relay in combination with the contactor (fixed by snaps).
– Main circuit connection: Power supply → Contactor → Thermal relay → Motor.
– Circuit de control: Connect the thermal relay’s normally closed contact in series with the contactor coil circuit.
– Strângeți blocurile de borne (according to the specified torque).
- Setting and Reset
Setting Current: Open the transparent cover and use a screwdriver to adjust the knob to the motor’s rated current value.
Resetează selecția modului:
– Set the blue “REST” switch to “O” for automatic reset.
– Set to “H” for manual reset (manual pressing of the reset button is required after troubleshooting).
VIII. Maintenance and Troubleshooting
Probleme și soluții comune:
| Fenomen de eroare | Cauze posibile | Soluții |
| Immediate tripping after motor startup | Excessively small setting value | Increase the setting value to 1.1 ori mai mare decât curentul nominal al motorului. |
| No action during motor overload | Excessively large setting value / Damaged heating element | Reset the setting / Replace the thermal relay. |
| Contact adhesion | Excessively large load current / Contact ablation | Inspect the load / Replace the relay. |
| Frequent false tripping | High ambient temperature / Loose wiring | Improve heat dissipation / Tighten the wiring. |
- Rezumat
The Schneider LRN3 Thermal Overload Relay is a reliable motor protection component in industrial electrical systems, achieving overload and phase failure protection through precise thermal-mechanical conversion. Selecting the appropriate model and setting it correctly can effectively extend motor service life and improve system reliability.
Puncte cheie de selecție: Choose the corresponding model based on the motor’s rated current (1.05~1.2 times) and ensure compatibility with LC1N series contactors.
Schneider LRN3 Thermal Overload Relay Installation Steps
- Pre-Installation Preparation
- Safety Power Off: Ensure all power supplies are disconnected and verify no voltage with a tester.
- Model Check:
– Verify that the thermal relay model matches the motor’s rated current.
– Confirm that the LRN3 series is compatible with LC1N series contactors.
- Environment Check:
– Select a well-ventilated location away from heat sources.
– Ensure the mounting surface is vertical (inclination ≤5°) with the cover facing upward.
– Maintain a distance of ≥50mm from other electrical appliances to avoid thermal influence.
- Combined Installation with Contactor
- Plug-in Installation (Recommended):
– Align the thermal relay with the plug-in interface at the bottom of the contactor.
– Press vertically downward until a “clic” sound indicates proper seating.
– Tighten the three fixing screws with a screwdriver (according to the specified torque).
- Independent Installation (Opțional):
– Use DIN rail mounting or screw fixing.
– Ensure secure installation to prevent displacement due to vibration.
III. Circuit Connection
- Conexiune la circuitul principal (Three-Phase):
– Connect the output terminals (L1/L2/L3) of the contactor to the input terminals (U/V/W) of the thermal relay respectively.
– Connect the output terminals (T1/T2/T3) of the thermal relay to the three-phase terminals of the motor.
– Ensure tight wiring without loosening.
- Conexiunea circuitului de control:
– Connect the thermal relay’s normally closed contact (terminals 95-96) in series with the contactor coil circuit.
– Typical connection: Control power supply → Thermal relay normally closed contact (95-96) → Stop button → Start button → Contactor coil → Other end of the power supply.
- Parameter Setting and Function Check
- Current Setting:
– Open the transparent cover and use a Phillips screwdriver to adjust the current setting knob to the motor’s rated current value (recommended to be 1.05~1.2 times the motor’s rated current).
– Tighten the protective cover.
- Reset Mode Setting:
– Set the blue “REST” switch to “O” for automatic reset (automatic recovery after troubleshooting).
– Set to “H” for manual reset (manual pressing of the reset button is required after troubleshooting).
- Function Test (Opțional):
– Short-circuit the test terminals (if available) to verify that the thermal relay can operate normally and cut off the control circuit.
– After resetting, reapply power and test the motor operation.
- Post-Installation Confirmation
- Check that all terminal blocks are securely tightened.
- Confirm that the thermal relay is properly installed without wobbling.
- Restore power and observe if the motor operates normally.
- Record the thermal relay model, setting value, and installation date for maintenance purposes.
Key Notes
Specificații de cablare: Use copper wires that meet the motor’s rated current, with cross-sectional area selected according to standards (undersized wires cause false tripping, while oversized wires lead to delayed protection).
Heat Dissipation Space: Install the thermal relay below other electrical appliances to avoid the impact of rising hot air on protection characteristics.
Întreținere regulată: Inspect contact status, remove dust, and ensure the operating mechanism is flexible.
Rezumat: The core of installing the Schneider LRN3 Thermal Overload Relay lies in correct combination with the contactor, series connection in the main circuit, integration of the normally closed contact into the control circuit, and accurate current setting. După instalare, it will provide reliable overload and phase failure protection for the motor.


")


NH42-63-318x560.png "Comutatoare de transfer automat de tip PC CHINT (ATS)NH42-63/4SZ")

")

